Stroberi Official Website
Just another WordPress site
How To Paint Your NailsCara mengecat kuku
Method 1 of 3: Getting Started
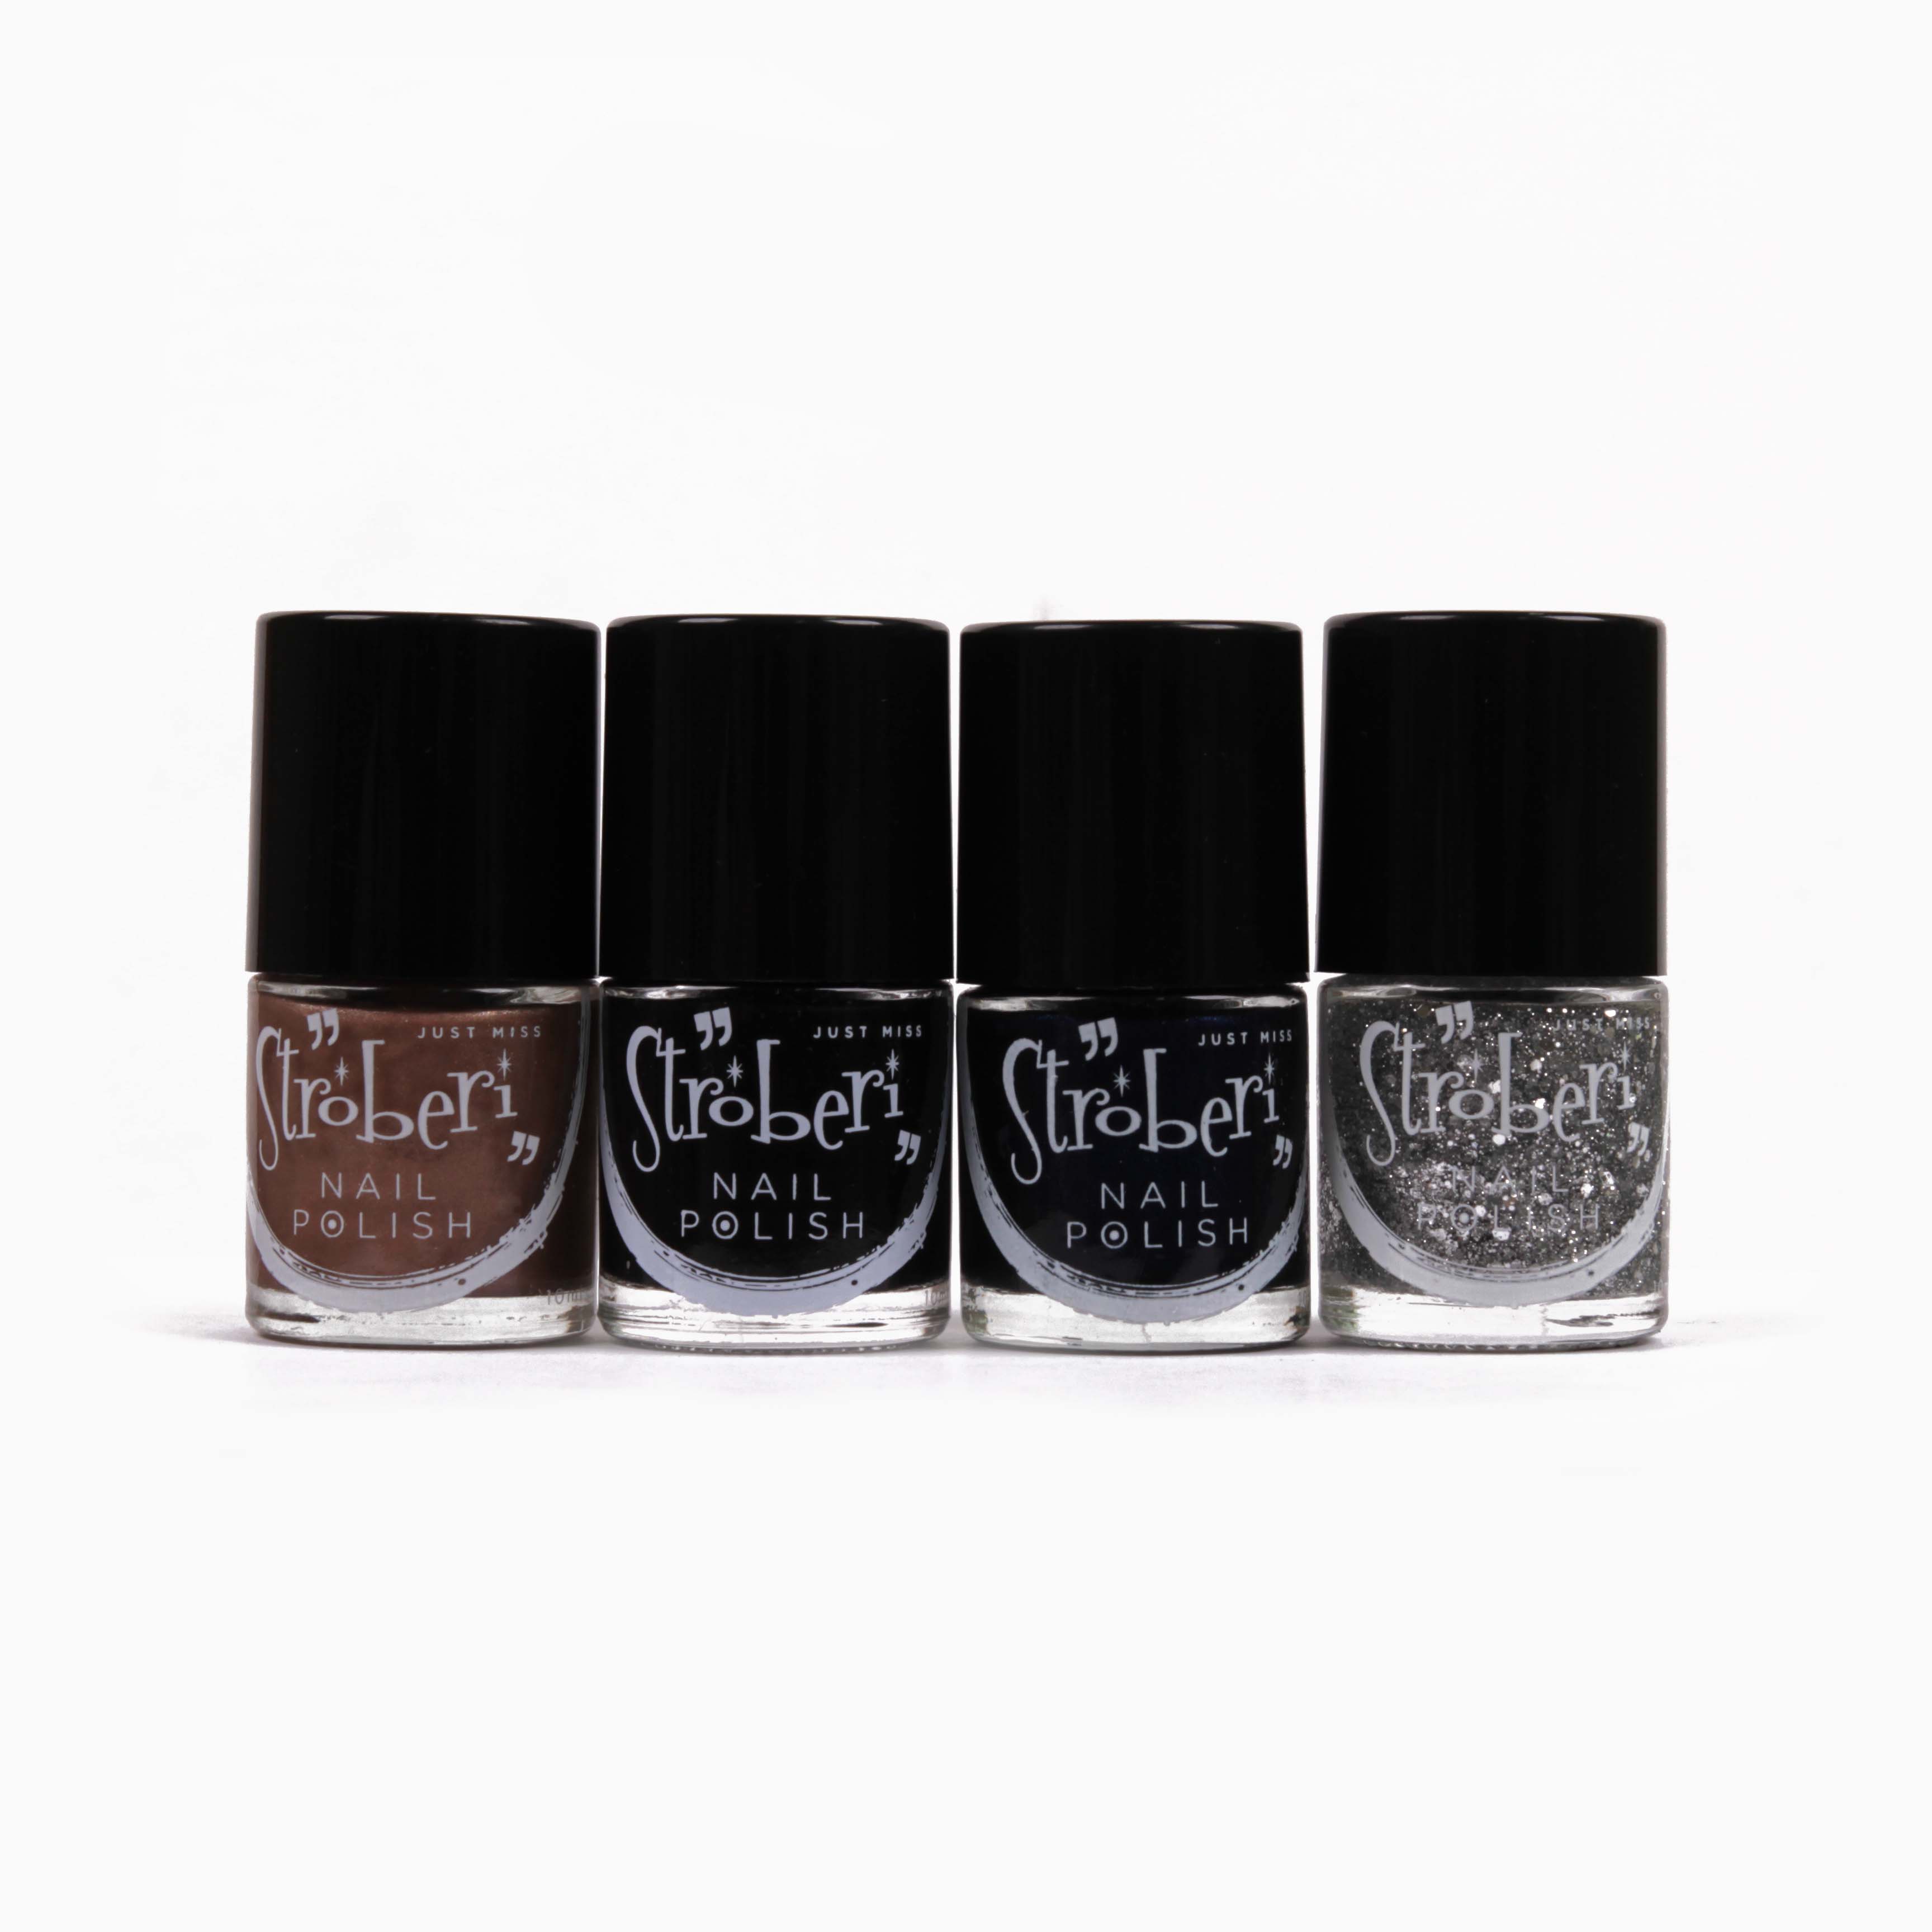
1. Choose a nail polish in the colour of your choice. Choose a colour that reflects your mood or matches what you’re wearing that day. Remember that darker colours like purple, black or dark red will make your nails appear smaller, so you should only choose these colors if your nails are quite long. You should also choose a nail polish that isn’t too old – older nail polishes will become thick and gloopy and you’ll find them harder to paint your nails with.
2. Pick a place to paint. When choosing a place to paint your nails, go for a clean, stable surface in a well-lit room. A study desk or the kitchen table are good options, just make sure to put some paper towel beneath your hand so you don’t get any polish on the surface. The room should also be well ventilated, as fumes from nail polish and nail polish remover are not good for your health.
3. Gather the necessary supplies. Gather some cotton balls or rounds or professional tissues, some q-tips, nail polish remover, nail clippers, a nail file, a cuticle stick and a bottle of clear nail polish. Having all of these items easily at hand will speed up the nail painting process and minimize the chances of you smudging a nail.
Method 2 of 3: Applying Color
1.Apply a base coat of clear nail polish. Applying a base coat of clear polish is one of the best things you can do when painting your nails. A base coat will give your chosen polish a smooth surface to stick to, will help the color last longer and will protect your nails from becoming stained by the colored polish. Allow the base coat to become fully dry to the touch before proceeding.
2. Press your hand firmly on the table. Don’t just leave your hand resting on the table (as this might allow it to shake or move), actively press your hand down on the surface of the table, spreading your fingers wide apart. Start with your index finger, moving along each finger towards your pinky. Then lift your hand and rest your thumb on the edge of the table to paint your thumbnail.
3. Open the bottle of colored polish and remove any excess from the brush.Having the perfect amount of nail polish on your brush is one of the keys to perfectly painted nails. To achieve this, wipe the brush on the inner rim of the bottle to remove any excess – knowing exactly how much polish should be on your brush is a skill that comes with time!
Method 3 of 3: Adding Designs
1. Use nail stickers. Nail stickers are super easy to apply and are available in an endless array of shapes, colors and designs. All you need to do do is carefully remove the adhesive backing (or in some cases apply a little nail glue) and press the sticker firmly onto the nail for 10-20 seconds to attach. Little jewel stickers, like the ones shown in the picture above, are popular and can be purchased at most drug stores.

2. Crystallize your nails. Another popular nail effect that you can do at home is to “crystallize” your nails using glitter or coarse white sugar. While the clear top coating on your nails is still wet, sprinkle the glitter or sugar onto your nails. As the top coat dries, the little “crystals” will become attached to your nails and you’ll have a really cool effect!